Showing posts with label stampin'up. Show all posts

Saturday, October 27, 2012

Halloween Card - Best Friends

As promised, today I'm sharing my all-time favorite Halloween stamp sets.  It's called Best Friends and the coordinating sentiment set Just Between Friends.  It came out in Stampin'Up's 2006 Holiday Mini Catalog.  In the past, I even used the witch and Dracula images on a few non-Halloween cards.

I stamped the images with black StazOn and colored with Watercolor Crayons.  I find coloring images so relaxing but somehow don't do it very often.  First up is Frankenstein.  Kept the layout pretty simple and I want Frankie in blue.  And he {heart} bats so I had to add a die-cut bat.


Next is Count Dracula.  I just love this image and the sentiment is perfect!  Could not resist adding my leftover googly eyes on his bouquet.  I made the center panel - main image before I decided on a layout.  When I finally settled on a center step card and positioned the main image and the sentiment, I was left with an empty space between the two.  So the ribbon was used to fill up the space.

 
Finally, the witch.  This color is called Rich Razzleberry and is one of my favorite Stampin'Up color.  It goes really well with Old Olive, another favorite.  On this center step card, I messed up on the measurements and it can't be covered.  Aside from the "extra" space on the center panel, I think it's a beauty.


And here's the group shot!


Hope you like these guy 'coz I love them!

Cheers everyone!!!

Thursday, October 25, 2012

Halloween Treats

I miss doing the Halloween treats for my son when he was in elementary school.  Nowadays, I'd do treats in small batches coz' they're fun to put together and I can do a lot of different ones.   I hand them out to the mailman, the UPS delivery person, the hairdresser or just about anyone I come across after I get them done.

This time, since I got the Ghoulish Googlies Designer Kit for my winning swap card I couldn't wait to get started.  All the things you need to put together cute Halloween treats are included in the kit.  Bags, labels, googly eyes and twine.

This is the mix of goodies I have on hand.  Just so you know, the candy corn I used for this picture are not the ones I packaged in the clear bags.  I ate a couple after I took the picture and tossed the rest.


Putting together the kit was quick and easy.  I used one of the image from the Googly Ghoul stamp set and I dry embossed the bag with Spider Web embossing folder.  After adding a few embellishments and filling the bag with goodies, you end up with these.  Aren't they fun?  The one in the middle is a door prize I won at our last group meeting.


For the candy corns, I put them in a narrow clear bag and attached a tag with ribbon or glue two tags together to close the bag.  I also used images from the Googly Ghoul stamp set on the tags.  In the past, I used the narrow clear bags for Valentines and Easter treats but my stash of clear bags came in handy today.  


In this next set, I used punch art as embellishments.  Punch arts are elements put together from punched pieces.  Here, the large oval punch from Stampin'Up was used to create the pumpkin and the owl punch was used to create the ghosts.


This past summer when I organized my work area, I separated  my "stuff" by season/occasion and put them in plastic containers.  That's why when I started this Halloween project I had easy access to all my Halloween goodies including a pack of die cuts I got a few years ago which would have been otherwise buried and forgotten.  I used some of those die cuts to create the gum cover below.


I also used die cuts on this box of Hershey nuggets.  Each candy was wrapped with cardstock stamped with a Halloween sentiment.  Not the best picture but I think you get the idea.


At last, this year's Halloween Treats are done and ready to be handed out.  Actually, after I took the pictures the UPS delivery person came by with my new trimmer from Stampin'Up and I was able to give her a bag of treats.  These are some of the treats, at least one of each of the items I made.


The only thing I wanted to do this year but didn't get to was a witch broom made with brown lunch bags.  I saw one a few weeks ago and it was so cute.  The handle was made with pretzel stick and I don't have any on hand.  Oh well, there's always next year.

Tomorrow I'll show you my Halloween card made with my all time favorite Halloween stamp set!

Cheers everyone!!!

Wednesday, October 10, 2012

Christmas Cards - Red Cardinal

I had so much fun making cards with the sponged frame technique (see previous post) that I decided to make Christmas cards using the technique.

I mentioned I'm not fond of glitter so I had to find an alternative.  I used Dazzling Details instead, a glitter adhesive!  You get the "dazzle and sparkle with less mess" (that's the Stampin'Up product description).  Look how the little birdies turned into majestic cardinals!  And they're dimensional!


What do you think?  I'm so pleased with myself, LOL!

Cheers!!!


All supplies used are by Stampin'Up.

Cardstock:  Summer Starfruit,  Gumball Green
Ink:  Summer Starfruit,  Green Gumball
Stamp:  Serene Silhouette, Seasonal Sayings
Embellishments:  Square Lattice EP, Dazzling Details in Cherry Cobbler

Tuesday, October 9, 2012

Sponged Frame Technique

Still playing with the Trust God and Serene Silhouette stamp sets from Stampin'Up........

Last week, I found a video tutorial by Dawn Olchefsky at dostampingwithdawn.com about sponged frame technique that I thought was so simple and stunning I just had to try it.

I used the same color cardstock (crumb cake) and inks (crumb cake, early espresso) but the embossing folder and stamps were different.  I still have the Trust God and Serene Silhouette stamp sets on my work table so I decided to work with those.  I also used the Square Lattice EP (embossing folder) because I like it and I haven't used it in a while.

Just like Dawn's tutorial, my main image was off to the left side and the sentiment was on the bottom right corner.  I don't like using glitter because of the mess it leaves behind but Dawn used glitter on her card so I had to try it too.  I glittered the tiny birds and OMG! it made all the difference.  The card is so serene and elegant in person.  I hope I captured that in the photo.


Noticed how I made two?  'Coz one is not enough!  I'm so pleased with how they turned out I can't stop looking at them.'

Cheers!!!


Supplies used are all from Stampin'Up.
Stamps:  Serene Silhouette, Trust God
Cardstock:  Crumb Cake 
Inks:  Crumb Cake, Early Espresso
Embellishments: Square Lattice Embossing Folder, Dazzling Diamonds Glitter

Sunday, October 7, 2012

Inspirational Gift

Today I'm sharing my latest favorite stamp sets from Stampin'Up.

I didn't notice this set of stamps from the current Stampin'Up catalog until recently when I picked up the catalog to make a wish list for my next order.

It opened to page 136 and at the top of the page is a set that includes this "Live Simply, Love Generously, Care Deeply, Speak Kindly, LEAVE THE REST to God" and this "God is Love" with a little heart on the stylized letter d.  I love these verses and immediately decided I will get this set called Trust God.

Another new stamp set in the current catalog that I wanted since June is called Serene Silhouette.  I have seen some gorgeous samples from other stampers and I think the images are perfect with the Trust God set.

I want to use these two sets to make cards for holiday gifts for my son's CCD teachers but for now this set of cards is going to a friend who would truly appreciate the sentiments and meaning of the verses.

When I give a set of cards, I always leave the inside blank so the recipient  has plenty of spaces to write their own messages.  I selected a wide range of colors but kept the layouts similar  on a couple of cards.


This is the first card I made.  Simple almost boring, I am not too crazy about it.  I used a template as a mask for the rectangular focal point and sponged the colors.  


The second card used the same colors and image except this time I used three small rectangular foams to apply the background colors.  I have a lot of white die cut butterflies left over from another project so instead of die cutting more butterflies I sponged the white ones to match my colors.  The card base is Raspberry Ripple so I used the same color ink on the butterflies.


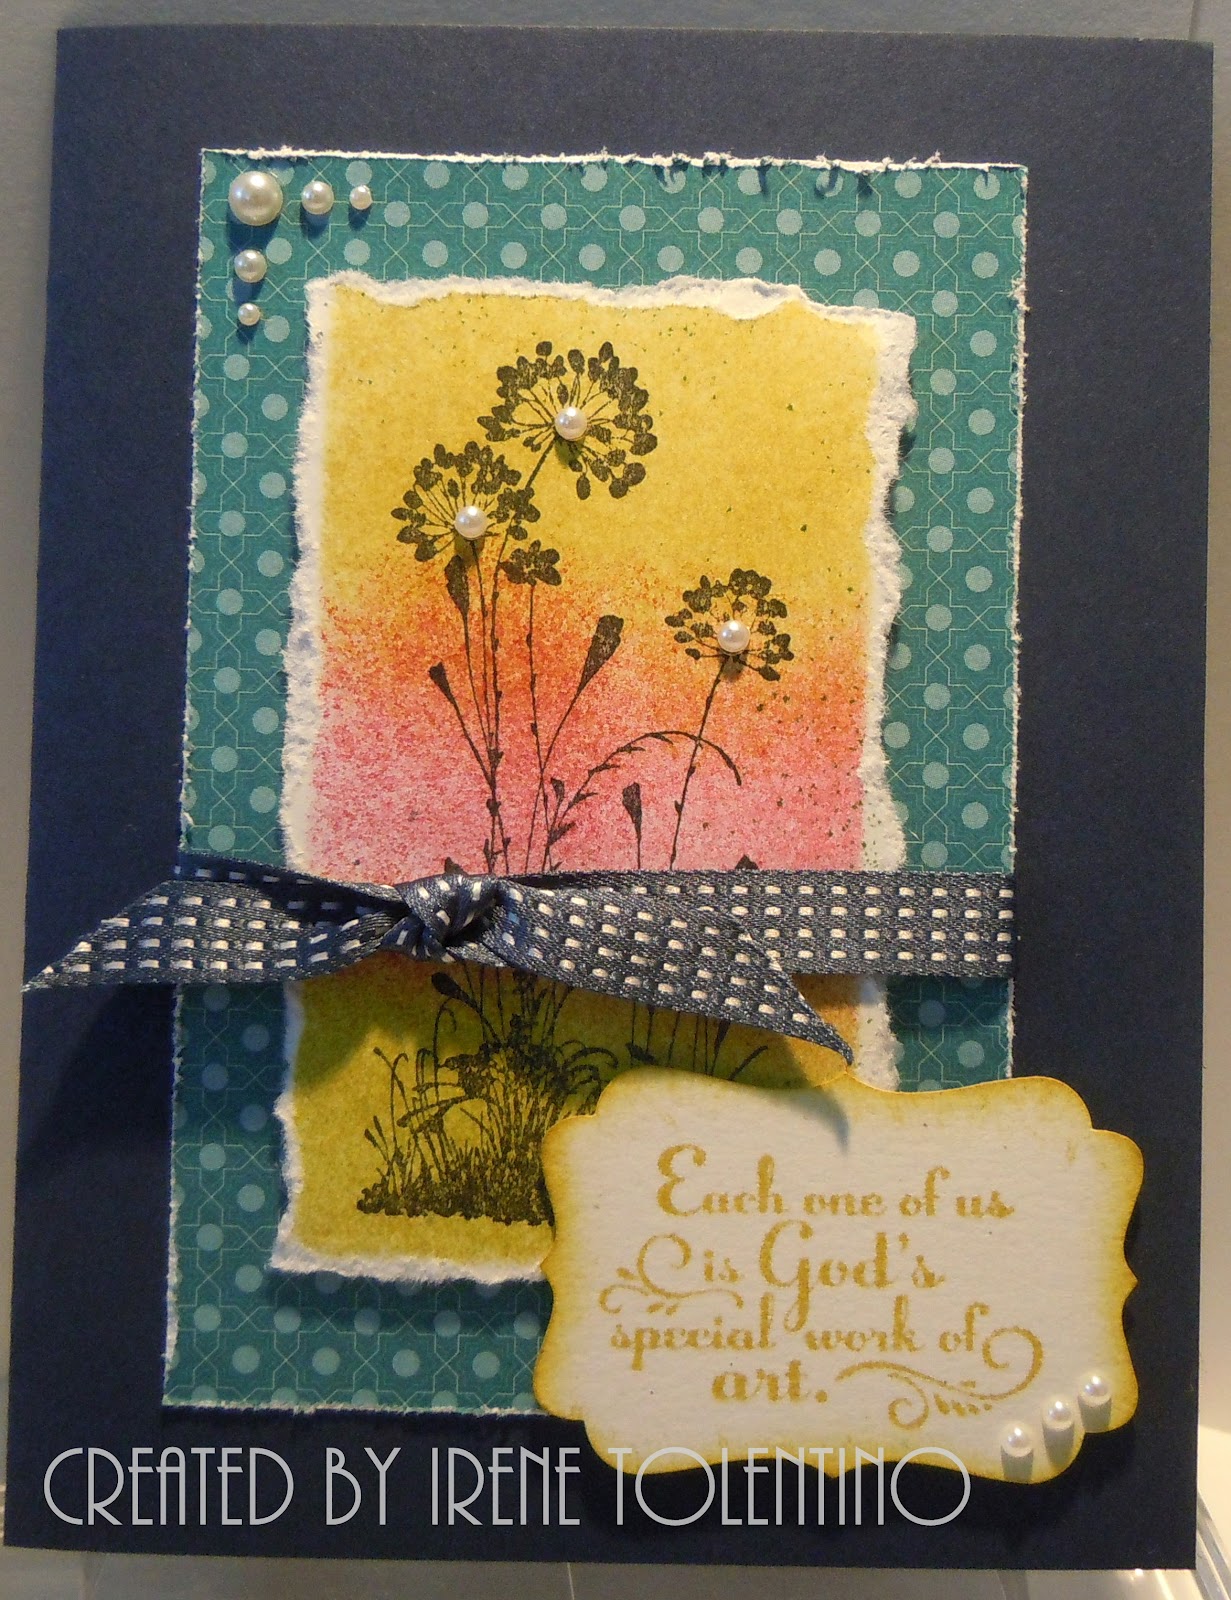
On this card I used the focal point I messed up when I was working on the first card.  I sponged out of the mask so ink was all over my card.  The solution, tear the sides and do a different layout!  The card base is Midnight Muse (blue) and I like it with Summer Starfruit (yellow).  The printed blue panel is from the designer paper stack called Festival of Prints.


On this card I used another image from the Serene Silhouette set.  I stamped the image directly on the printed paper, also from Festival of Print paper stack, with midnight muse ink.  Love that paper, just had to use it.  The rhinestones were colored with navy blue sharpie.


This is the same as the previous card except I used Early Espresso for the card base and added butterflies for embellishments.  Again, I used the white butterflies already die cut and this time colored them with midnight muse ink.  I really like how this one turned out.


This is the clean and simple one.  No sponging!!! I really like midnight muse and summer starfruit together.  Who would have thought I would use so much blue ribbons.  The Stampin'Up promotion in September was free ribbon spool for every forty dollar purchase and that's the only reason I have midnight muse ribbon.  And I found I really like that color.


Here's the group shot!  You always need a group shot.


This is how I packaged them.  A simple clear box with a ribbon and tag.  All six cards and envelopes fit in the box.

All supplies are from Stampin'Up except for the clear box.

Cheers!

Thursday, October 4, 2012

Name Tag

I created this name tag for my upcoming group meeting.  I used MDS2, a digital design software by My Digital Studio which is one of Stampin'Up's product line.  MDS2 is a recent upgrade and there are tons of new design tools and digital contents.  I think I went a little over board trying a lot of new stuff and cramming so much elements in such a small project.  The tag itself measures 3" x 2".  I made it to fit in a plastic sleeve hanging from a lanyard.


I'm really excited that I figured out how to use the splatter tool which enabled me to have the sponge look.  I was also able to changed embellishment color which is another new feature of MDS2.  The software is very intuitive and user friendly.

The layout is not quite balanced but I grouped some elements together and I had so much layers that making changes became tedious, I decided to leave it alone.  There are elements that don't even show.  As I was adding embellishments and layers of papers and brush sets some things just got buried.  I'll try again another day with a different approach.