Saturday, January 12, 2013

Swap Card - Faux Chalk Art

For my January 19th group meeting I decided to swap a card using the faux chalk art technique.  I love how my first chalkboard card turned out, posted HERE, that's why I wanted to try it again.

First step is deciding which stamp set to use.  I had a pretty good idea of the design and I need stamps that will work together and will fit in the layout.  With clear stamps, I was able to place all the stamps at once on a clear block.  This enabled me to stamp all the images at the same time.  I used images from five different stamp sets, that's a lot.

Another thing I did was cut the stamps to make them fit the design.  For example, the top stamp was originally "YOU'RE SUCH AN AMAZING" I cut out "SUCH AN" because I only need "YOU'RE AMAZING" for this card.  Same thing with the brackets, they're originally about an inch apart and I cut them in half so I can use them separately.


I used Versamark and white embossing powder to heat emboss all images.  Here is my starting point.


I added borders and lines using a white pencil.  I played with colored pencils for highlight but I wasn't getting the "pop" I had in mind.  In the end, I went with tiny punch flowers in rose red to match my card base.  I sponged white ink on the flowers to tone down the color a little bit.  TIP:  Sponge the cardstock with white ink before punching your flowers to save time instead of sponging punched tiny flowers one by one.

Final step is to sponge white ink all over the card to simulate chalk dust.  If you sponge the ink before adding the lines or any other doodle with the pencil, the sponged ink slightly resist the pencil and your lines or doodles are muted.  I personally like the lines sharp and crisp to begin with and then muted with sponging.

Here's the completed card.  I'm glad I was able to meet the 10-minute or less criteria.

UPDATE:  I changed my mind on the design and didn't swap this card, instead I swapped THIS


Here's what I played with before I got to the final card above.


Now I just need to do twenty five more and I'll be all set for the meeting.

Thanks for stopping by today,

Cheers!!!


irene

Supplies used were all from Stampin'Up including stamps, inks, card stock and punches.
Stamp Sets:  Amazing Family, Make A Wish and Ciao Baby from the 2013 Spring Catalog
                    Vintage Verses and Pretty Petites from the 2013 Sale-A-Bration Catalog

Friday, January 11, 2013

Crafting Resolution #2 Designer Cuts

The next card kit I'm going to complete is also from Stampin'Up called Designer Cuts.  This is a set of 8 laser cut cards.  I decided on real simple layout to highlight the delicate cut outs.

I could not resist making Valentine cards with the heart laser cut cards.  I cased a card I saw a while ago.  It's stunning and oh, so easy.  I made two of these.  The red glimmer paper really makes the cut out heart shine.


The next card can also be for Valentine.  For this one, I followed a tutorial by my upline Patty Bennett.  I used vellum colored with markers and attached it behind the cut out heart.  It's like stained glass when light shines through it.

The close ups.


I haven't done the other laser cut design.  Hopefully, I'll get to them next week and cross them off my to do list.  I'm currently focusing on my swap for my January 19th group meeting.  I'm still playing with layouts and designs and trying to finalize one that will meet the 10-minute criteria.

Until the next post..........Cheers!!!

irene

Tuesday, January 8, 2013

Crafting Resolution #1 - Everyday Elegance

I gave up on making New Year's resolution years ago because I never keep them.  But recently when I was putting away all the supplies that I managed to scatter all over my work area I made a crafting resolution.  The first one was to complete all the card kits I have been hoarding.

I'm happy to say that I completed one kit in the last couple of days.  The card kit is called Everyday Elegance by Stampin'Up.  I can't even remember when I got this kit.

I started with the Cherry Cobbler cards.  I colored the image with Cherry Cobbler and Old Olive markers and was quite happy with the result.  I've forgotten the stunning look you get from multi-colored stamped images.  The layout is simple and took no time to put together.


I finished all four cards quickly.  The only variation is the sentiment - three happy birthdays and one thinking of you.


Onto the Baja Breeze cards.  I stuck with the floral theme and picked hydrangea for this set of cards.  I also colored the stamp with Cherry Cobbler and Old Olive markers.  I manually cut around the flower and stem and set it on the card with dimensionals.  Added the ribbon and the sentiment.  I have to say that this is gorgeous in real life.  I'm glad I took the time to fussy cut around the flower, sooo worth the effort.


The next card is a different layout.  I masked the stem and leaves of the flower and used Baja Breeze ink pad to inked the flower.  Then I color the stem and leaves with Old Olive marker.  When I stamped it on a white card stock I got a two-tone image.  Yikes!  I forgot to clean the stamp before inking it with another color.  But this was a good mistake since some hydrangeas are two-tone.


After that unplanned two-tone effect, the single color image just looked flat so I had to re-create my mistake to make the other two cards.


These four were a bit more work than the first four and you can see the difference.  I just love how they turned out!


Hope you enjoyed today's project.  Coming up next is the other card kit I have been saving.

Until the next post.............   Cheers!!!

irene

All supplies used were from Stampin'Up.

Friday, January 4, 2013

Birthday Gift Card Holder

I made this quickie birthday card for my nephew.  I used the same design as the Christmas Pop Up gift card holder posted HERE.  I got him a gift card from Target for his birthday and the pop-up card was perfect for it.


The gift card I chose also added to the design of the card, don't you think?


I'm making a stack of this card type, as they are so handy for gift giving.

Thanks for checking in.  Until the next post............ Cheers!!!

Thursday, January 3, 2013

Altered Blank Cards

I got this pack of blank cards at the local craft store.  I thought that the plain floral prints are just screaming to be embellished.  Sort of like a blank canvas!  With some embellishments you'll end up with six, cute, one of a kind cards.

This is how they look originally.  I only want to use the front image with my base cards so I trimmed the card front to 4" x 5.25" to make my main panel.


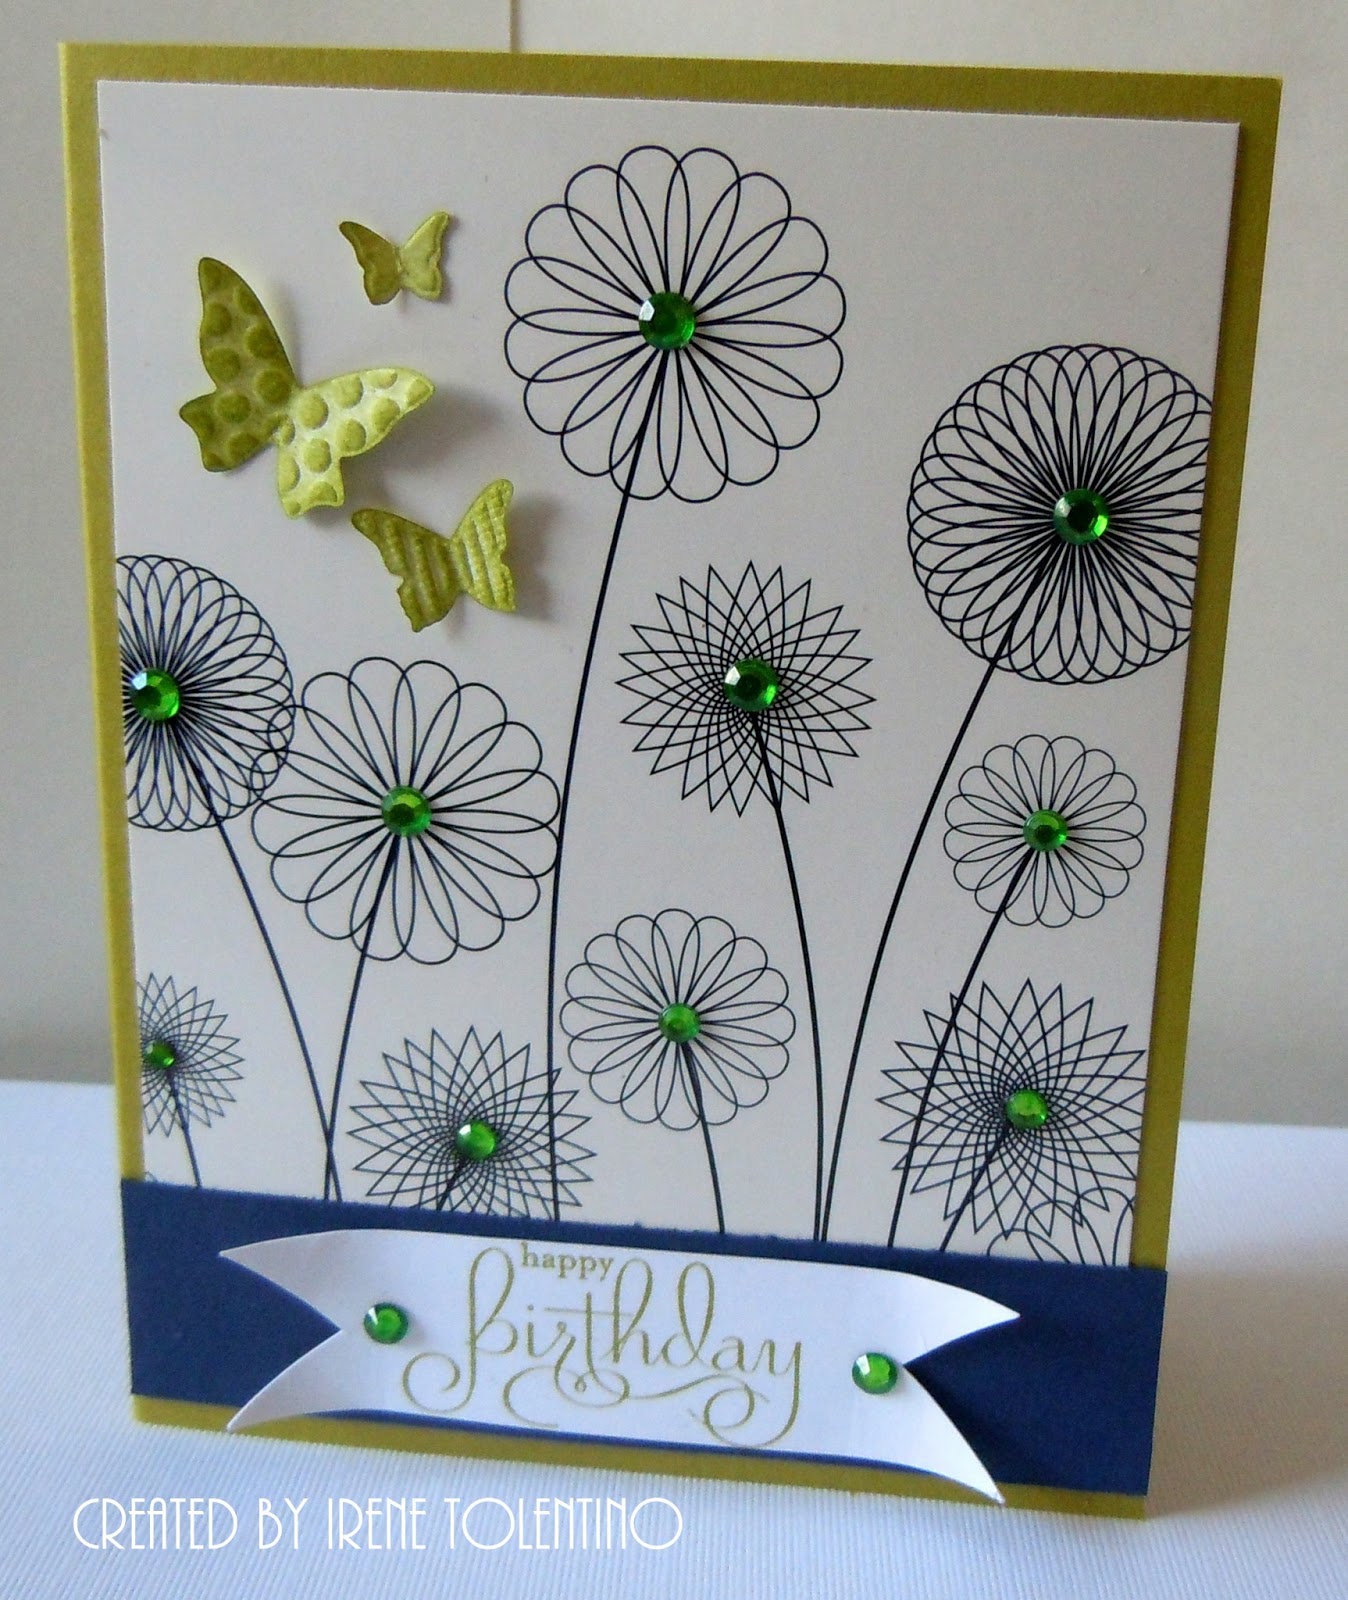
The first card is quick and simple.  I used limeade cardstock for the card base and added neon green rhinestones to the center of each flower.  Then I layered a navy blue strip for the sentiment.  Before I took the picture I added the butterflies.


For the next card, I colored the whole panel with Tim Holtz's Distress Stains.  Did I mention that the blank cards were made with glossy cardstock?  The stains work really well with porous surfaces, not so well on glossy cardstock, DUH!  I used the heat gun to dry and set the stains, then rubbed a paper towel all over the panel.  The end result was not too bad.  I used pomegranate cardstock (I think) for the base card.  In real life, it doesn't have the "blotchy" look as you see in the picture.


This card took more time to put together than the others.  I wanted to color the flowers and permanent markers work well with glossy cardstock.  I used magenta, pink and lilac markers.  The colors are so vibrant in real life.


The next card was embellished with buttons.  I seldom use buttons for embellishments even though I have quite a few in different colors and sizes.  I added the natural twine to the buttons to soften the bright blue color.  I matched the sentiment to the card base which was summer starfruit.


Next is the pink card.  I punched the tiny flowers from primrose petal card stock to complement the base card made with pink pirouette.  I added the pink rhinestones to the tiny flowers  and glued them on the panel.      I thought this could be a simple Valentine card.


Card number six is unfinished.  I didn't like what I put together.  I'll fix it some other time but I'll show you how far I've gotten.


I like how the first five turned out.  The next time you see a stack of cheap ($1.00), plain cards grab them and add your own special touch.  You don't need to have a stash of embellishments to make them your own.    I just want to add that since they're cheap, the envelopes that came with the cards were like made with tissue paper.  I'm using my own envelopes.

I used Sharpies permanent markers to color the flowers.  You know the extra buttons that come with sweaters or blouses, I save those with my embellishments.  You can color the clear or white buttons with Sharpies, too.  If you ever see clear rhinestones at the dollar bins at Target or your local craft store, grab them.  You can color rhinestones with Sharpies to match your project.  So really, the only thing you need to invest in is Sharpies.  A multi-color pack of twelve is under $8.00.  I also have the Crayola permanent markers but the colors are not as intense as Sharpies.

Thanks for stopping by today.  Until the next post............. Cheers!!!

irene

Wednesday, January 2, 2013

Valentine Square Collage

The Valentine Square Collage Swaps are due soon.  I already have a couple of layouts in my head, it's just a matter of putting them on paper to see which one works.  I got all the elements ready and tried a few layouts.    

Love was heat embossed with white embossing powder on real read card stock.  Then punched with the new Stampin'Up Petite Curly Label, this is one of the free items in the upcoming Sale-A-Bration starting on January 22nd.  I also punched a bunch of tiny hearts from white card stock and red glimmer paper.  The base is crumb cake cardstock punched with a 1-3/8" square punch.  The main requirement for these collage swaps is the size, 1-3/8" no more no less.  People submit odd sizes anyway, go figure!


These are the layouts I have so far:


This is the one I decided to send off.  I like the black contrast.


Just need to complete the 22 swaps and head off to the post office.  They're not due until the 15th but I'd like to get them out of the way to focus on Valentines projects.  

Thanks for stopping by.  Keep warm and stay safe.

Cheers............

irene


All supplies used are from Stampin'Up.


Tuesday, January 1, 2013

Faux Chalk Art

Happy New Year everyone!  I have been playing with faux chalkboard art in preparation for an upcoming swap.  I quickly put this panel together to express my new year.greetings.  I think it turned out really good.

I  used a stamp set from Stampin'Up called Happy Hour and added my own doodles.  The cocktails and greetings were heat embossed using white embossing powder.  I sponged white ink around the edges to simulate chalk dust on blackboards.  I added my doodles using white gel pen.


Here's to a happy, peaceful and prosperous new year.  Be safe.  Cheers!!!

irene